Introduction
Washing machines and dryers can be surprisingly loud, especially during high-speed spins or when handling heavy loads. If your laundry room is near living areas or bedrooms, the noise can be disruptive to work, relaxation, or sleep. Fortunately, you can greatly reduce the racket with a few smart upgrades. In this guide, you’ll learn how to add soundproofing to a noisy laundry room so you can enjoy peace and quiet while your appliances do the hard work.
Why Soundproofing Matters for Your Laundry Room
Soundproofing your laundry space isn’t just about comfort — it has practical benefits too:
- Improves quality of life by reducing disruptive noise.
- Allows flexible laundry times without disturbing others.
- Helps protect hearing from prolonged exposure to loud appliance noise.
- Adds home value by improving the function and comfort of your space.
Whether you want a DIY weekend project or a more professional upgrade, soundproofing can make your laundry routine much more pleasant.
Step-by-Step Guide to Adding Soundproofing to a Noisy Laundry Room
Step 1: Identify the Noise Sources
Before starting, pinpoint where most of the noise is coming from:
- Vibrations from the washer or dryer moving.
- Airborne noise from spinning drums and motor operation.
- Structural noise traveling through floors and walls.
This helps you choose the most effective soundproofing methods.
Step 2: Add Anti-Vibration Pads or Mats
Place heavy-duty rubber pads or an anti-vibration mat under your washer and dryer. These absorb movement and prevent vibrations from transferring into the floor. Make sure your appliances are level to further reduce shaking.
Step 3: Seal Gaps and Cracks
Noise easily escapes through small openings around doors, windows, vents, and plumbing. Use weatherstripping around doors and acoustic sealant for cracks in walls or flooring. Even minor gaps can let a lot of sound through.
Step 4: Install Soundproof Curtains or Panels
For airborne noise, hang thick soundproof curtains or acoustic panels on the walls closest to your living spaces. These absorb sound waves instead of letting them bounce around the room.
Step 5: Add Mass to the Walls
More mass means better sound blocking. Consider adding an extra layer of drywall with a noise-reducing compound like Green Glue sandwiched in between. This is especially helpful if your laundry room shares a wall with a bedroom or office.
Step 6: Upgrade the Laundry Room Door
Standard hollow-core doors let a lot of noise through. Replacing it with a solid-core door can significantly cut down sound transfer. For even better results, add a door sweep to seal the gap at the bottom.
Step 7: Soundproof the Ceiling or Floor
If the laundry room is on an upper floor, noise can travel downward. Install dense rugs or carpet in the room below, or add insulation between floors. For basement laundry rooms, insulate the ceiling above to protect the rooms upstairs.
Step 8: Consider a Laundry Room Enclosure
If space allows, you can build a partial enclosure around your washer and dryer using soundproof panels. Just ensure you leave enough ventilation to prevent overheating.
Step 9: Maintain Your Appliances
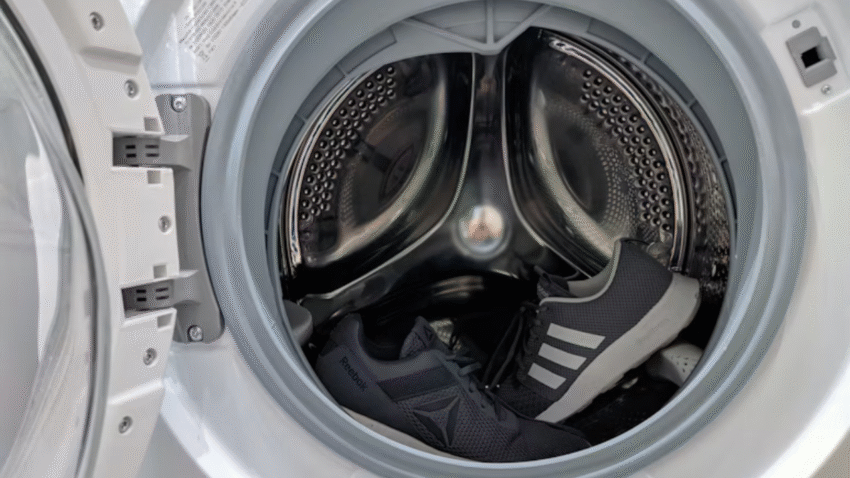
Sometimes excessive noise comes from worn parts or imbalanced loads. Regularly clean and inspect your washer and dryer, replace worn bearings or belts, and avoid overloading the drum.
Common Mistakes to Avoid
- Ignoring the Floor
- Mistake: Focusing only on walls when much of the noise comes from vibrations.
- Solution: Use anti-vibration pads or mats.
- Blocking Ventilation
- Mistake: Over-insulating and cutting off airflow to appliances.
- Solution: Always leave proper ventilation to avoid overheating.
- Using Thin Materials
- Mistake: Relying on standard curtains or light panels.
- Solution: Use dense, sound-absorbing materials.
- Skipping Appliance Maintenance
- Mistake: Soundproofing without addressing mechanical issues.
- Solution: Check your machines for wear before adding soundproofing.
- Not Sealing Small Gaps
- Mistake: Overlooking cracks and gaps that leak noise.
- Solution: Seal everything before installing large soundproofing features.
Extra Laundry Tips & Hacks for Quieter Washing
- Run Laundry at Off-Peak Hours: If possible, wash clothes when noise won’t disturb anyone.
- Balance Loads: Evenly distribute items to prevent your washer from banging against the drum.
- Upgrade to Quieter Appliances: If your machines are older, newer models are designed to operate with less noise and vibration.
For more home improvement ideas, check out our guide on How to Extend the Life of Your Washer and Dryer to keep your appliances running smoothly and quietly.
Conclusion
Soundproofing your laundry room can turn a noisy chore into a background task that doesn’t interrupt your day. By addressing vibration, sealing gaps, adding sound-absorbing materials, and maintaining your appliances, you can significantly cut down on noise. Whether you choose simple fixes like anti-vibration pads or more involved upgrades like extra drywall, the result is a quieter, more comfortable home.
Bookmark this guide so you can enjoy peaceful laundry days without the constant hum, rattle, and thump of your machines.