Introduction
Upgrading your laundry room plumbing can seem like a big job, but with the right approach, you can improve water flow, prevent leaks, and prepare your space for modern appliances without major renovations. Whether you’re adding new fixtures, replacing worn-out hoses, or rearranging your setup, learning how to upgrade laundry room plumbing easily can save you time, money, and future headaches.
Why Upgrading Plumbing Matters for Your Laundry Room
Your laundry room’s plumbing plays a vital role in keeping everything running smoothly. A few simple upgrades can:
- Prevent costly water damage from leaks or burst hoses.
- Improve efficiency by providing better water flow to your washer.
- Allow for appliance upgrades without complicated retrofitting.
- Increase home value by modernizing one of your home’s most-used spaces.
- Reduce utility bills through better water usage control.
By following some straightforward steps, you can make these upgrades without hiring a full plumbing crew.
Step-by-Step Guide to Upgrading Laundry Room Plumbing Easily
Step 1: Plan Your Upgrade Goals
Decide what you want to achieve:
- Replace old hoses with braided stainless steel for safety.
- Install a utility sink for hand-washing or pre-treating clothes.
- Add shut-off valves for easy maintenance.
- Relocate water hookups for a cleaner layout.
- Upgrade to a more efficient drain system.
Having a clear plan will help you choose the right tools and materials.
Step 2: Turn Off the Water Supply
Before touching any plumbing, locate your laundry room’s water shut-off valves or your home’s main water shut-off. Turn them clockwise until tight, then run the washer for a few seconds to drain any remaining water.
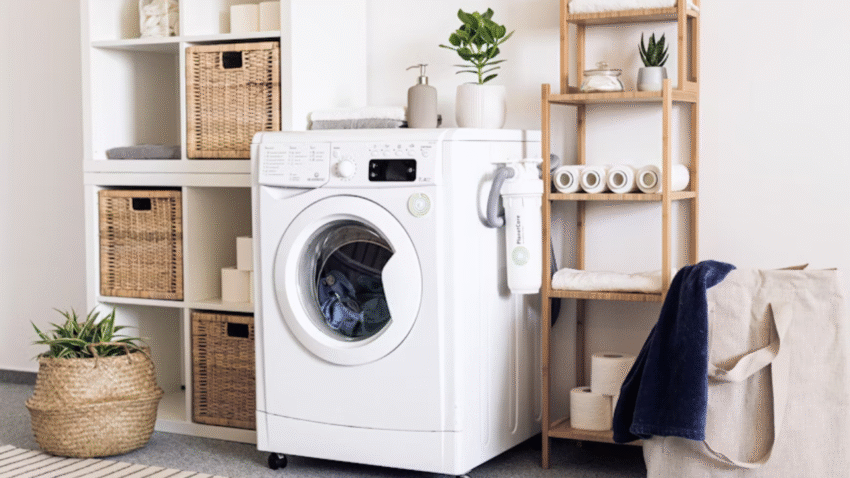
Step 3: Replace Old Washer Hoses
Old rubber hoses are prone to cracking and bursting. Swap them for braided stainless steel hoses, which are stronger and longer-lasting.
- Unscrew the old hoses from both the wall and washer.
- Hand-tighten the new hoses, then use pliers for a snug (not overtight) fit.
- Check that the hot and cold hoses are connected to the correct inlets.
Step 4: Install a Utility Sink (Optional but Recommended)
A utility sink is incredibly useful in a laundry room for soaking, scrubbing, and cleaning.
- Choose a location near the existing plumbing.
- Use a tee fitting to connect the sink’s water lines to the washer’s water supply.
- Connect the sink’s drain to your existing drain pipe with a P-trap to prevent odors.
Step 5: Add or Replace Shut-Off Valves
Modern quarter-turn ball valves make it easy to stop water flow for repairs or emergencies.
- Cut the existing pipe using a pipe cutter (after shutting off water).
- Install the new valve using compression fittings or push-fit connectors (like SharkBite).
- Turn water back on and test for leaks.
Step 6: Upgrade the Drain System
Older laundry rooms often use a basic standpipe drain, which can overflow if your washer drains too quickly.
- Increase the drain pipe diameter to at least 2 inches to handle modern washer flow rates.
- Install a drain pan under your washer to catch leaks and connect it to a floor drain if possible.
Step 7: Consider Relocating Water Hookups
If your hoses and valves are in an awkward spot, you can install a recessed washer box for a cleaner look. This involves:
- Cutting a hole in the drywall.
- Mounting the washer box between wall studs.
- Connecting your existing hot, cold, and drain lines to the new box.
Step 8: Test the System
Once all upgrades are complete:
- Slowly turn the water supply back on.
- Check every connection for leaks.
- Run a quick wash cycle to ensure water flow and drainage are working correctly.
Common Mistakes to Avoid
- Skipping the Shut-Off Step
- Mistake: Forgetting to turn off water before working on plumbing.
- Solution: Always shut off and drain water lines first.
- Using Old or Damaged Parts
- Mistake: Reusing worn-out hoses or connectors.
- Solution: Replace them with new, high-quality materials.
- Over-Tightening Connections
- Mistake: Excess force can strip threads or crack fittings.
- Solution: Tighten snugly, not excessively.
- Ignoring Drain Capacity
- Mistake: Keeping an undersized drain pipe.
- Solution: Upgrade to handle modern washer flow rates.
- Not Testing Before Finishing Work
- Mistake: Sealing up walls before checking for leaks.
- Solution: Test everything before closing up access points.
Extra Laundry Tips & Hacks for Better Plumbing
- Install a Leak Detector: Smart water sensors can alert you to leaks before they cause damage.
- Flush Supply Lines Annually: Run water through the hoses without the washer to clear sediment.
- Use a Water Hammer Arrestor: If your pipes bang when the washer stops filling, this small device absorbs the shock.
For more ways to improve your laundry room, check out our guide on How to Add a Smart Plug to a Washer and Dryer for a high-tech upgrade alongside your plumbing improvements.
Conclusion
Upgrading your laundry room plumbing doesn’t have to be a major project. By replacing old hoses, installing modern shut-off valves, improving the drain system, and adding useful features like a utility sink, you can create a more efficient, safer, and future-ready laundry space. With a few tools, quality materials, and careful planning, you can complete most of these upgrades in a weekend.
Bookmark this guide so you can follow these steps the next time you want to refresh your laundry room’s plumbing quickly and easily.